a Nano Glue Rose! Trust me, this is a super satisfying and creative activity for both kids and adults. So, let’s dive in and I’ll show you how I made it step-by-step.
What You’ll Need
Here’s a quick list of the supplies I used:
Nano tape (clear, jelly-like tape)
A plastic straw
Colorful glitters or small beads
Scissors
Nano glue (or any craft glue that dries clear)
A tiny rose mold (optional)
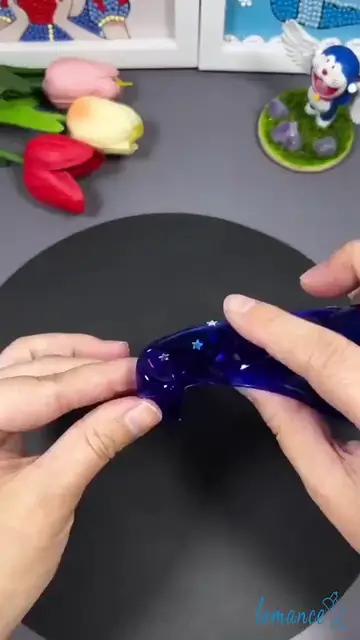
Step 1: Preparing the Nano Tape Bubble
First, I took my Nano tape and cut out a decent-sized strip—about 10 cm long. I made sure the sticky side was facing up, and I sprinkled a small amount of glitter and tiny beads in the center. This is what makes the bubble look sparkly and fun when it's squished!
After that, I folded the tape in half, sealing it tightly around the edges but leaving a small opening. This part is super important because we’re going to use it to inflate the bubble in the next step.
Step 2: Inflating the Bubble