
How I Made a DIY Nano Tape Squishy Bubble Craft Blue Ball
Oct 29, 2024
One of my favorite recent projects was creating a DIY Nano Tape Squishy Bubble Craft Ball. It’s such a fun, easy, and satisfying DIY craft that’s perfect for both kids and adults. I had a blast putting this together, and I'm excited to share the process with you. If you love crafting at home, this project is a great way to get creative and make something fun!
Materials I Used
Here's what I gathered to make my Squishy Bubble Craft Ball:
Nano Tape: This transparent, flexible tape is what I used to create the bubble.
Air Pump: To inflate the bubble for that perfect squishy feel.
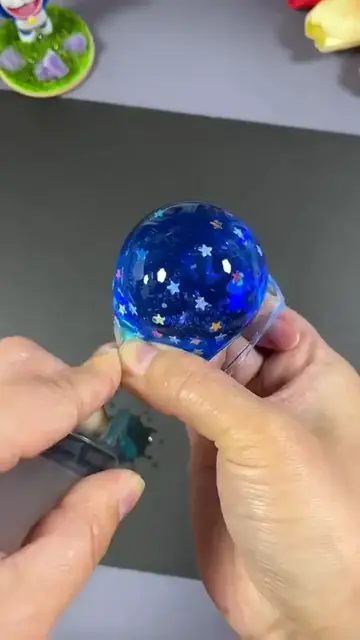
Fillers: I chose a mix of glitter, colorful confetti, and some tiny beads to add a fun visual effect inside the ball.
Scissors: To cut the tape into the right size and shape.
Clear Sealant or Strong Glue: To securely seal the edges so the air wouldn’t escape.
Step-by-Step Process of Making My Squishy Bubble Craft Ball
Step 1: Making the Tape Bubble
To start, I cut a length of nano tape, making sure it was long enough to create a decent-sized bubble. I carefully folded it into a bubble shape, leaving one side open so I could fill it later. I pressed down on the edges to ensure they were smooth and there were no gaps where air could escape.
Step 2: Adding the Fun Elements
This was the part where I could really get creative! I added a handful of glitter, some colorful confetti, and tiny beads into the bubble. I chose bright colors that would pop when the ball was squished. It was so much fun deciding what to include—the possibilities are endless, and it’s all about making it unique!
Show More Show Less #How-To, DIY & Expert Content