
DIY Miniature Clay Scenery
Nov 27, 2024
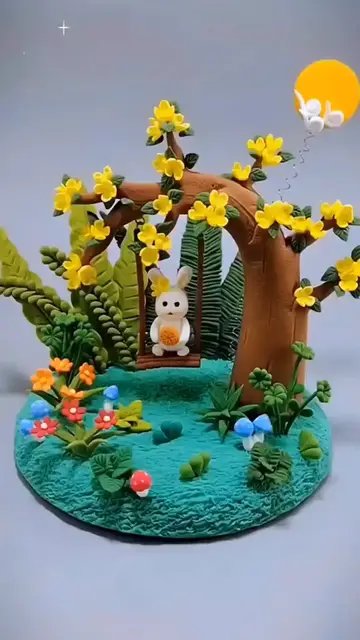
I decided to craft a miniature scenery using clay. The process was incredibly rewarding, and the result was a tiny, vibrant world filled with detail. Here’s how I brought it to life step by step.
Materials I Used
Air-dry clay: Easy to mold and perfect for miniature details.
Acrylic paints: For adding color and texture.
Paintbrushes: Fine-tipped ones for detailing.
Sculpting tools: For shaping and carving the clay.
Cardboard or wooden base: To hold the scenery together.
Glue: For securing elements in place.
Optional extras: Mini trees, tiny figurines, or pebbles for added realism.
Step-by-Step Process
1. Planning the Scene
First, I visualized the layout. I wanted a simple countryside setting with rolling hills, a small pond, and a tree. Sketching it out on paper helped guide my work.
2. Shaping the Base
Using air-dry clay, I molded the landscape directly onto the cardboard base. I added curves for hills and an indent for the pond. Sculpting tools made it easier to refine details.
3. Crafting the Details
I created tiny elements like rocks, tree trunks, and bushes. The tree was particularly fun—I rolled clay into a cylinder for the trunk and used smaller pieces to form branches.
Show More Show Less #How-To, DIY & Expert Content