Step-by-Step Guide to Making a DIY Paper Cut Small House and Trees
Gathering Materials:
The video begins by showing the necessary supplies, which typically include:
Colored or plain cardstock paper
Scissors or a craft knife
Glue or double-sided tape
A cutting mat (for precise cuts)
A ruler and pencil for measuring and marking
Cutting the Paper for the House:
The creator starts by cutting out the base pieces for a small house using cardstock. They use a ruler to measure the dimensions, ensuring that each side of the house is even.
The paper is folded along pre-measured lines to create the walls and roof of the house. Sharp creases are made using a ruler to ensure the folds are clean.
Assembling the House:
Glue or double-sided tape is applied to the edges where the paper pieces will be connected.
The pieces are carefully joined together, forming a 3D house structure. The roof is attached last, giving the house a finished look.
Creating the Trees:
Using green cardstock, the video shows how to cut out simple tree shapes. These can be basic cone-shaped trees or more detailed silhouettes with branches.
The tree pieces are folded or layered to give a 3D effect. The base of each tree is glued to make them stand upright.
Adding Details:
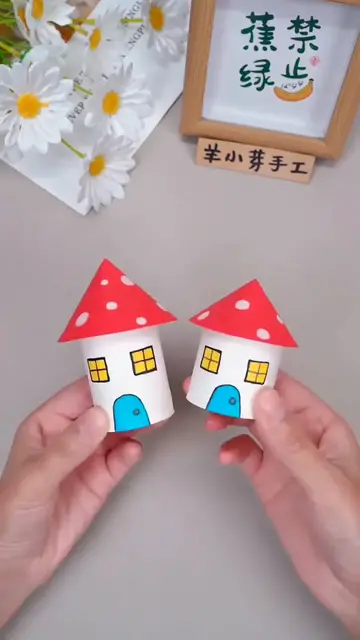
Additional elements like windows, doors, and small decorative accents are cut out and glued to the house. This step adds personality to the paper model.
The creator may also use a marker or pen to draw finer details, like outlines or texture on the trees.