The process was surprisingly simple, and the results were absolutely adorable. Here’s how I did it!
Materials Needed
Colorful craft paper: Choose vibrant shades and patterns for variety.
Scissors: For precise cutting.
Glue stick or tape: To hold the pieces together.
Ruler and pencil: For accurate measurements.
Decorative items: Sequins, glitter, or ribbons to embellish the dresses.
Steps to Make the Paper Dress
1. Sketching the Dress Design
I began by sketching a simple outline of the dress on a piece of paper. A basic bodice and a flared skirt worked perfectly for this miniature design.
2. Cutting the Pieces
Using the scissors, I carefully cut out the bodice and skirt. For a layered look, I cut additional smaller pieces for ruffles or accents.
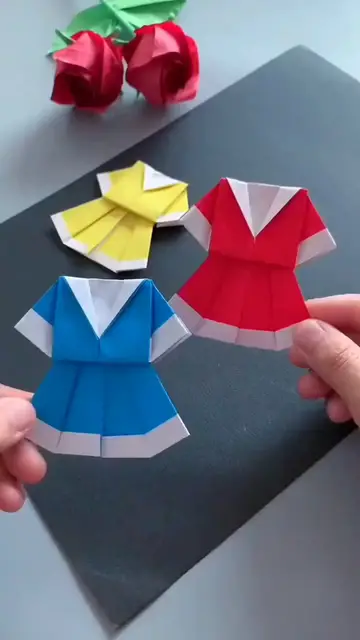
3. Assembling the Dress
I attached the bodice and skirt with glue, ensuring a clean and seamless fit. To create volume, I gently folded the skirt pieces like an accordion before attaching them.
4. Adding Decorative Touches
This was my favorite part! I added tiny bows made of ribbon, a glittery belt, and even some sequin "buttons." These small details brought the dresses to life and made them truly unique.